

How To Draw A Frankenstein Face
How to Draw an Easy Frankenstein Tutorial and Frankenstein Coloring Page
posted in: 1st Grade, 2nd Class, 3rd Grade, 4th Form, fifth Grade, Cartoon Cartoon, Crayons, Drawing, Easy How to Draw Tutorials, Halloween, Holiday Drawing Ideas, People
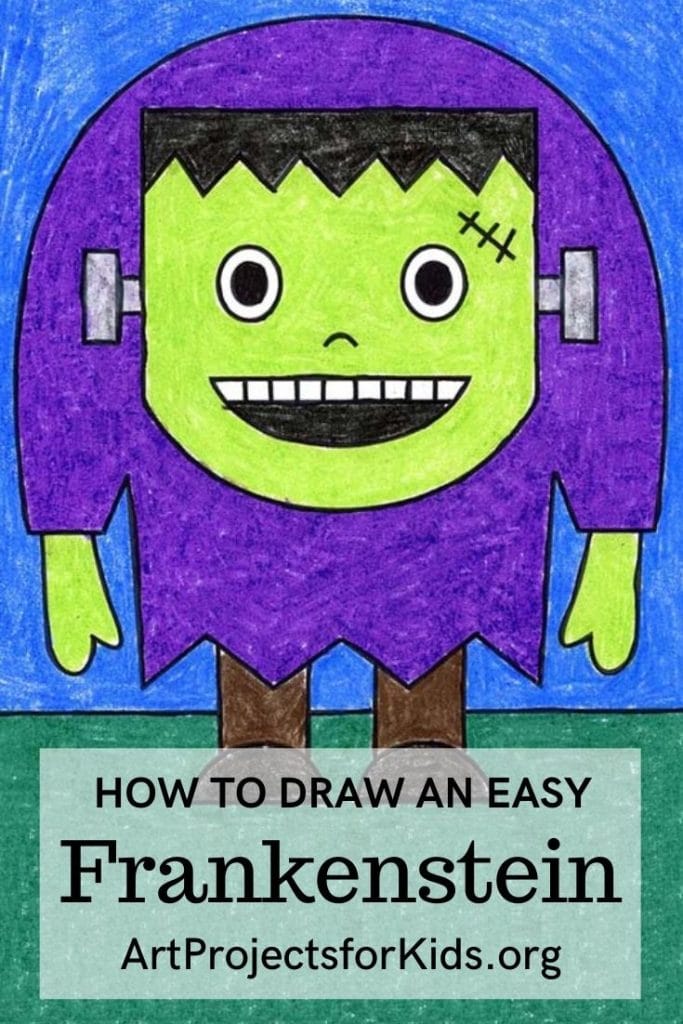
Learn how to draw an piece of cake Frankenstein with this step by step tutorial. He's made from some pretty simple shapes, just still has that classic hunched back.
Piece of cake Frankenstein Drawing

What makes virtually how to depict Frankenstein easy enough for even, say kinders or get-go graders to take on?
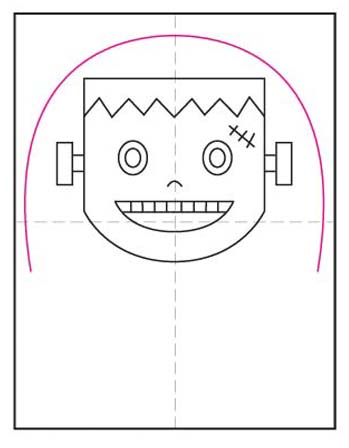
Well, it starts with a large and elementary caput, that sits right in the top centre of the paper. Information technology must have the flat pinnacle, a choppy looking hairline, and attached screws, of class.
Then it helps to make the body with one LARGE upside down U shape. Information technology will look like the hunch dorsum that Frankenstein is famous for, and add an easy way to attach ii easily and a torn looking hemline.
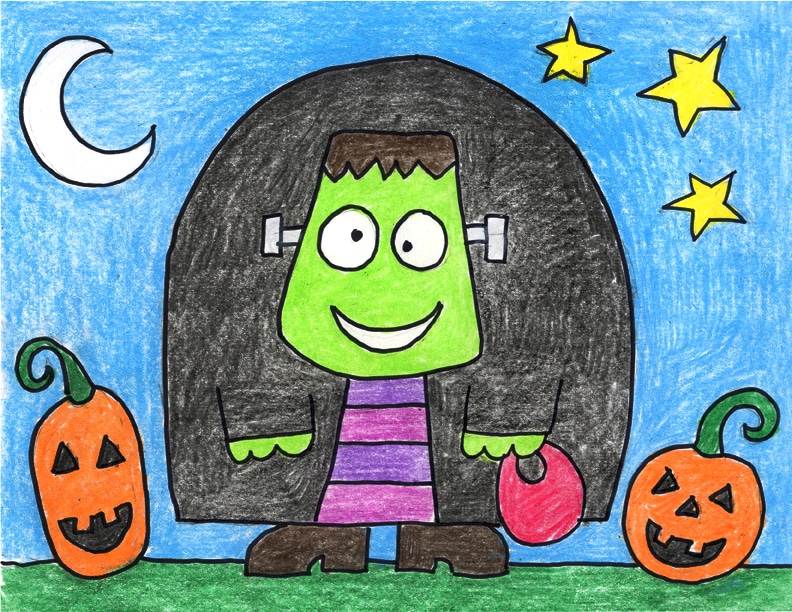
The finished proportions all make upward for a Frankenstein cartoon that fills the paper and can be finished with all kinds of creative details. Maybe a play a trick on or care for saucepan attached to a mitt? Or lots of torn patches on his clothes? Or a full moon or ghost or two in the background? All kinds of possibilities!
Merely be sure to tell students to color carefully. This sample was made with only some ordinary crayons, just with lots of pressure to go some really dark colors. Information technology's the reason why that bright green face up really stands out from that rich, purple shirt he is wearing.
Pin Me to Your Pinterest Lath
Utilise the Button below to Download a PDF Tutorial
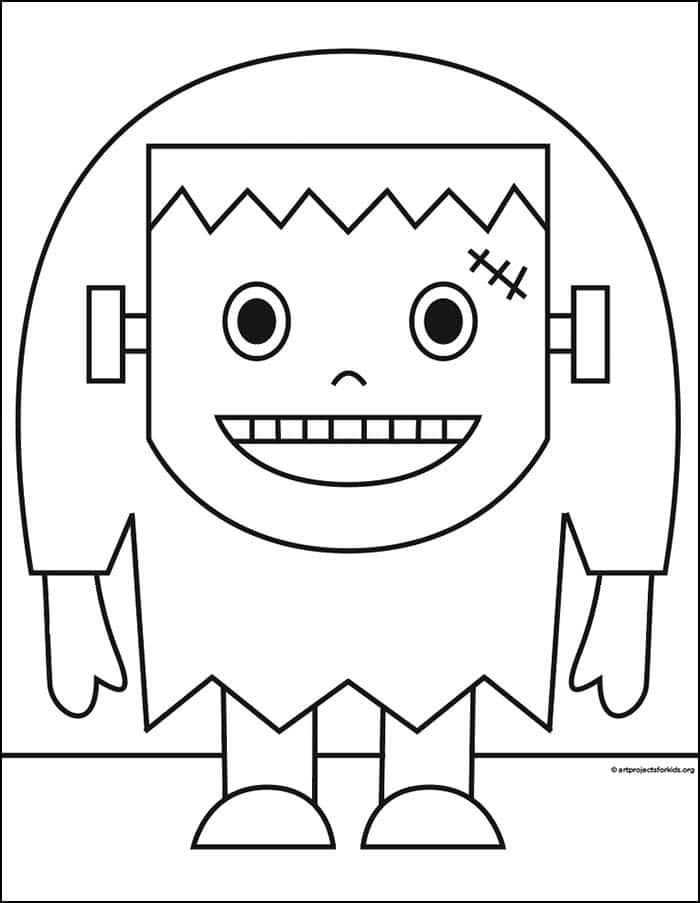
Frankenstein Coloring Page
Materials for an Easy Frankenstein Drawing
- Eraser. Large ones you can hold in your hand do a much better job than but the pencil tips.

- Blackness Sharpie Marker. These fine point permanent marker pens brand dainty black outlines, have a good tip for coloring, and never bleed when they go moisture. Use them with skilful ventilation and add together extra paper underneath to protect your tables.
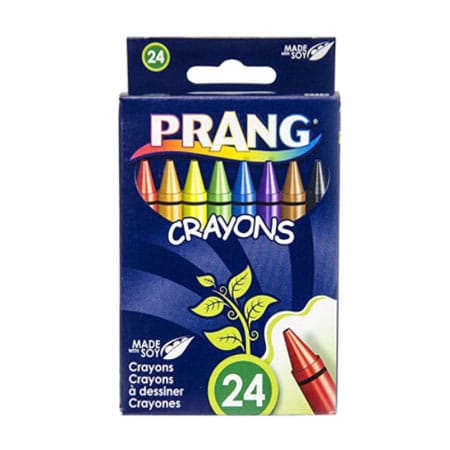
- Prang Crayons. These are a bit softer than other crayons so they sometimes look like oil pastels. They besides have a some nice chocolate-brown shades that Crayola does not have unless you buy their larger boxes.
- Crayola Crayons. The reliable brand that always works well. The 24 pack has some of my favorite golden orange and yellow colors that seem a bit richer and warmer than the ones Prang has.
Directions to Describe Frankenstein Step past Step
Time needed:30 minutes.
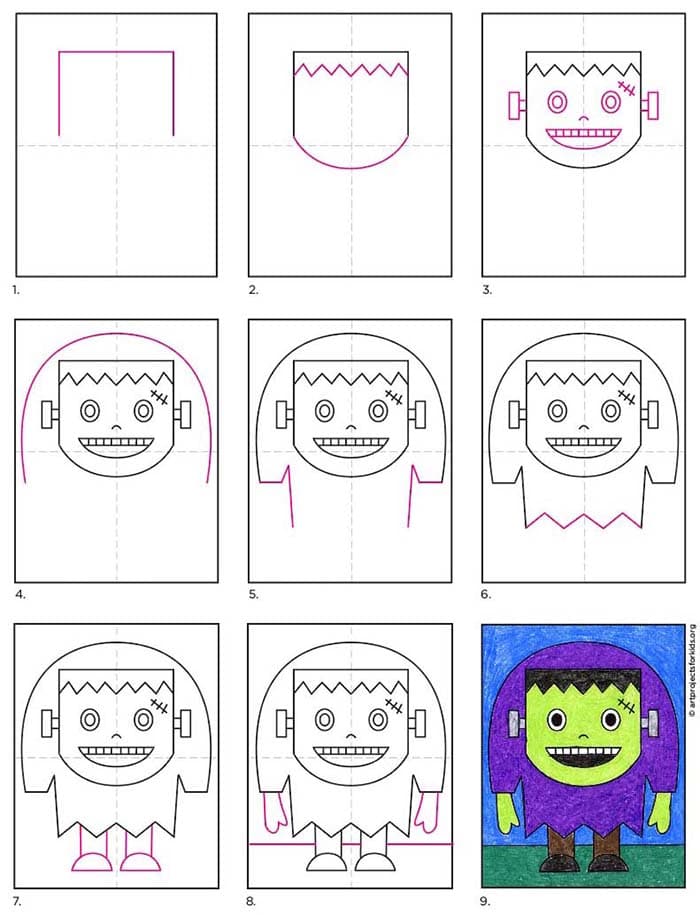
How to Draw Frankenstein Step by Step
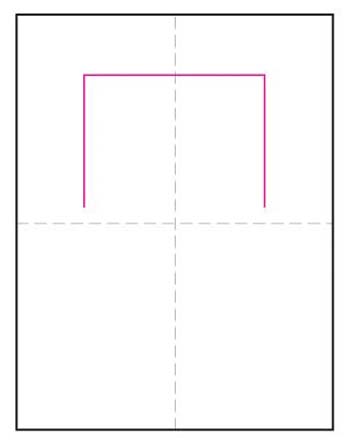
- Start the head with iii straight lines.
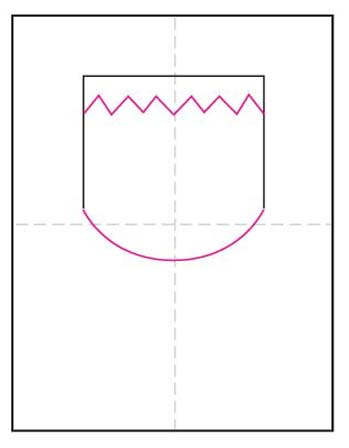
- Add the chin and a zig zag pilus line.
- Describe the eyes, nose, rima oris and the screws.

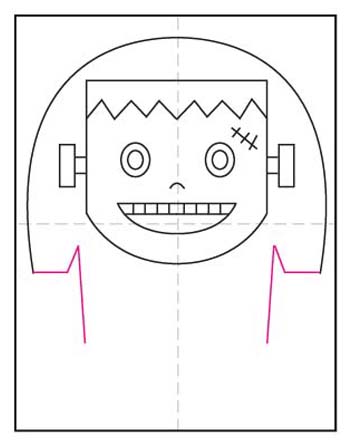
- Draw the shoulders with one big upside downwards curve shape.
- Add together the sleeves at the bottom of the curve.
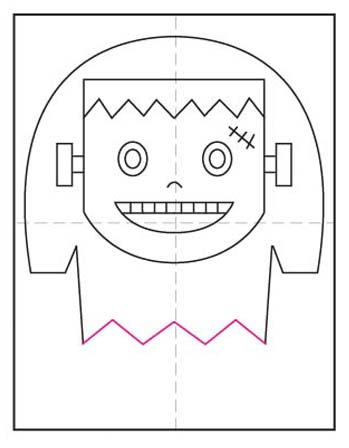
- Describe the zig zag hem line of the shirt.
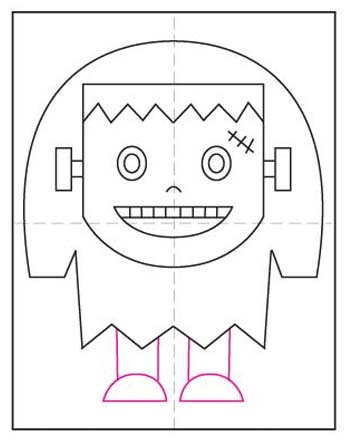
- Draw ii unproblematic legs and feet.
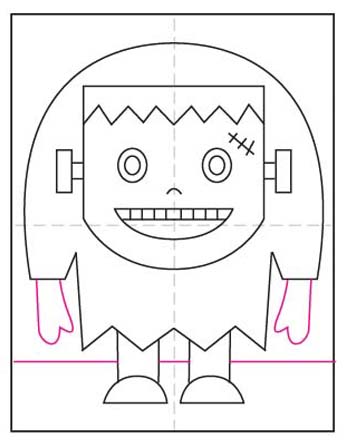
- Add together two hands and a horizon line.
- Trace the cartoon with a marker and color.

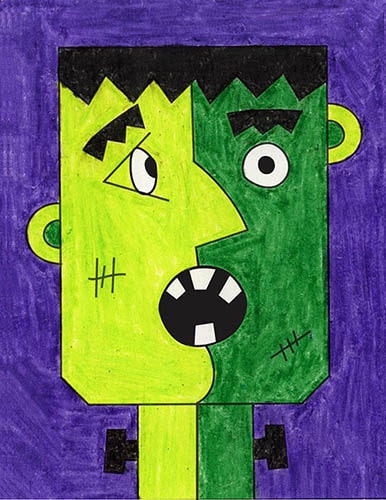
How to Draw a Cartoon Frankenstein
More than Fun Frankenstein Drawing Projects


Source: https://artprojectsforkids.org/how-to-draw-an-easy-frankenstein/
Posted by: fuentessommor.blogspot.com
0 Response to "How To Draw A Frankenstein Face"
Post a Comment