

how to draw a realistic sunflower
This particular project took me a while to complete. At start I but started drawing sunflowers and photographing every step, every bit I commonly practise, merely once I finished the drawing I wasn't sure what to exercise with it next. So a crazy thought occurred to me: what if I drew ten versions of the same sketch using unlike medium for each ane. This way you could come across the difference between each 1 and run into what you tin expect from using, say colored pencils vs. crayons, or oil pastels vs. acrylic paint. That is why it took me a while, because I really did x drawings/paintings for this project and then some on the computer. To be honest later all of them were washed, I was and so tired of drawing the aforementioned thing over and once again, but it was worth information technology to meet all of them next.
***This page contains chapter links.***
The materials I used were: ACRYLIC PAINTS, COLORED PENCILS, OIL PASTELS, REGULAR PASTELS, CRAYONS, MARKERS, INK, regular #ii pencil, WATERCOLOR PAINT, and computer graphics for the concluding one.
The way this page goes is like this: at start I volition put the step by step instructions for the sketch. After which, I volition put the step past pace instructions for acrylic painting, followed past the footstep by step instructions for colored pencils. At the end you will see pictures for all the dissimilar ways I colored it in, using all the different materials.
Keep in heed that this sketch is my sketch. Yours tin be yours, different and beautiful in it's own mode. Just apply these instructions as a loose guideline for yourself, merely in the end it should exist your art.
How To Draw Sunflowers
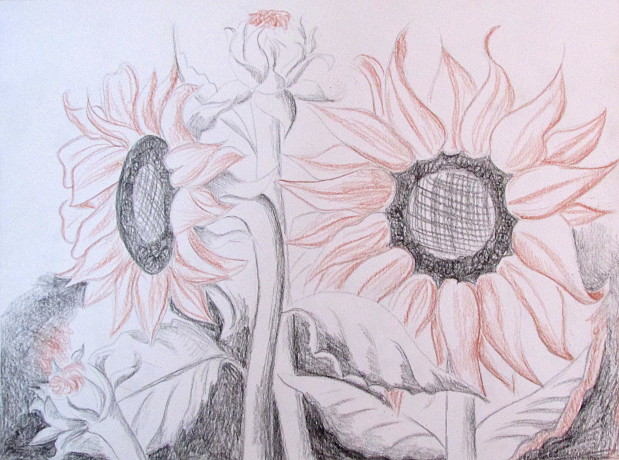
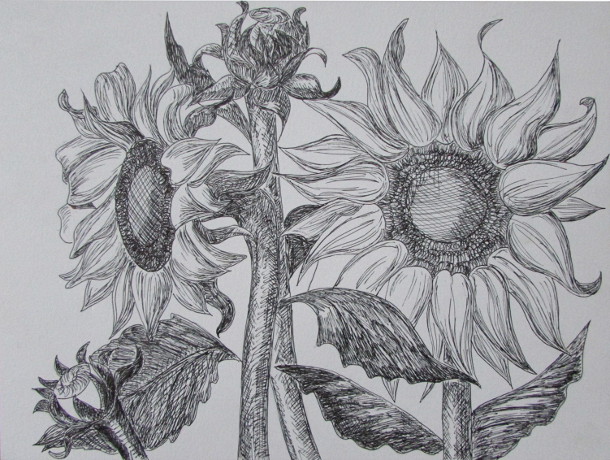
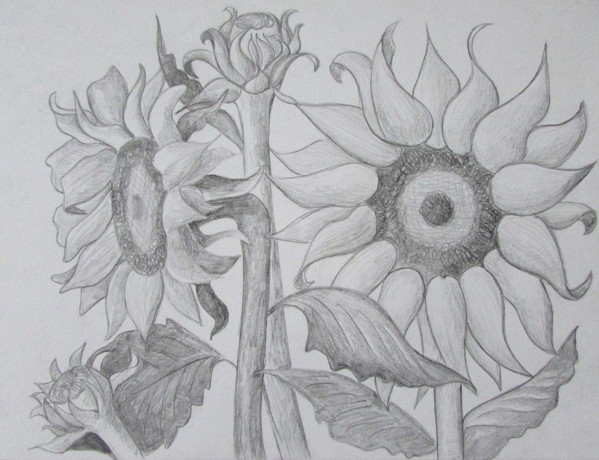
The Sketch

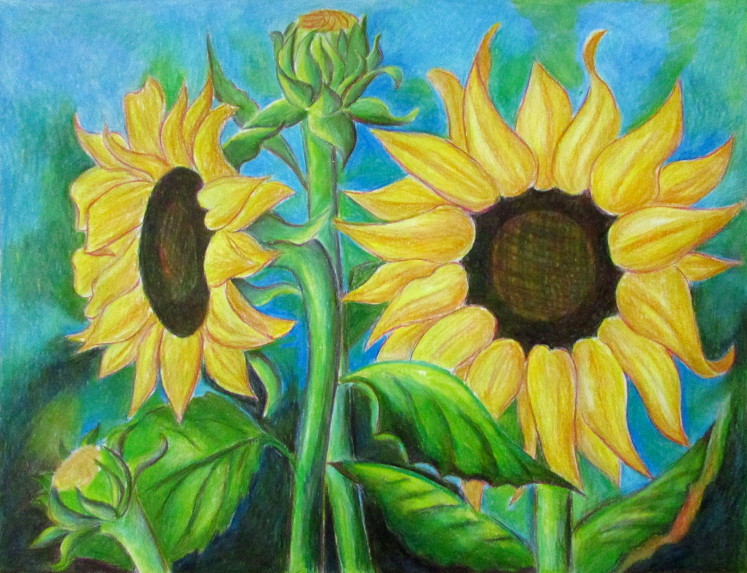
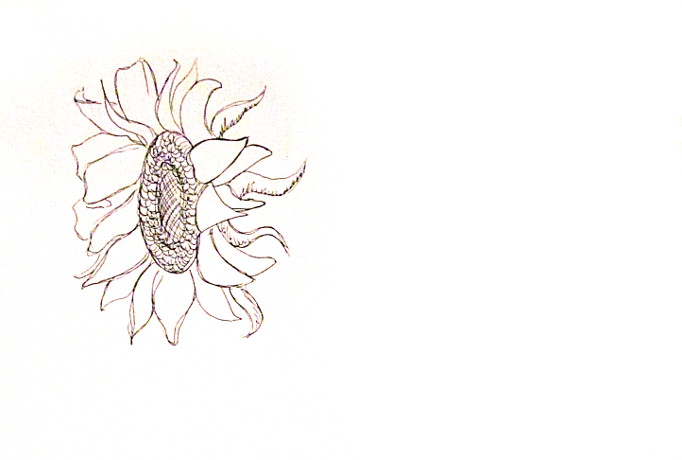
I beginning with a letter C for the center of the first bloom. This blossom is going to be facing sideways, then the center is an oval instead of the circumvolve.

I left bit of space open, that's why information technology's a letter of the alphabet C, a few petals will go in that space. Now I add together a petal. It is a merely a triangle with each side curved a piffling scrap.
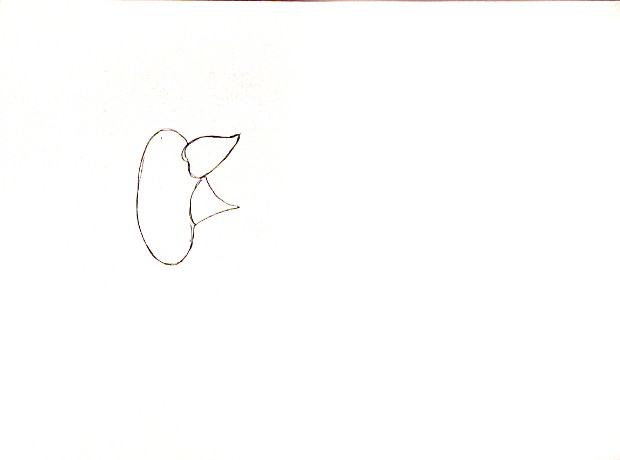
I go on adding more than and more petals. They are all triangular in shape, more than or less.
Some are longer, some shorter, some overlap. Keep working effectually the center.

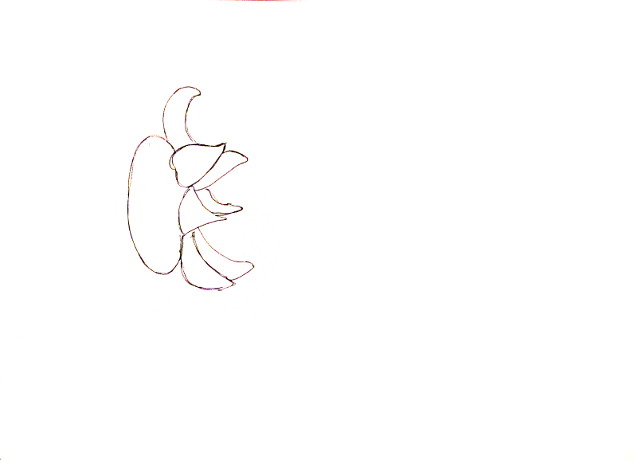
Keep adding petals until you're happy with how the blossom looks! Make some bend in on themselves and some you lot tin can't meet the tips of.
Don't forget that it is just a sketch, and so don't worry besides much if things aren't coming out besides equally you have hoped.
Add the green leaves in the back of the flower (I'm sure there is a name for them, but I don't know what it is).
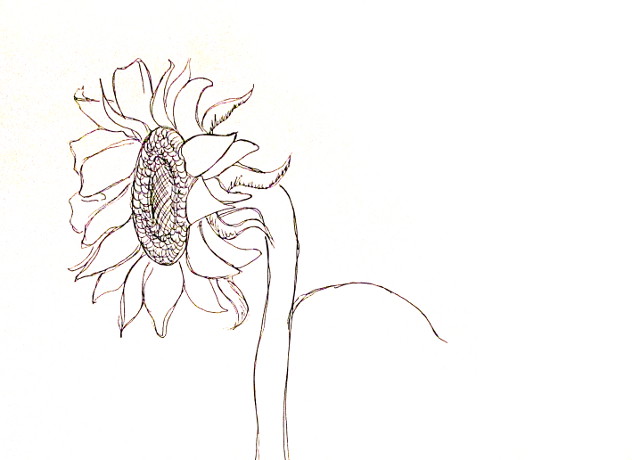
Time to draw the stem and start the leaves. The showtime leaf begins with a curved line, like in the photo above.
Cease the leaf by putting a line with ridges for the lesser.
Mark where the centre of the next sunflower will be with dotted lines. Don't describe a solid line just yet. This sunflower is facing forward, so the center is a circle.

Start past drawing a few petals. They wait like misshapen drops. Continue going around until y'all've gone over the entire circle. They can overlap, or go backside one another, or have gaps in between.
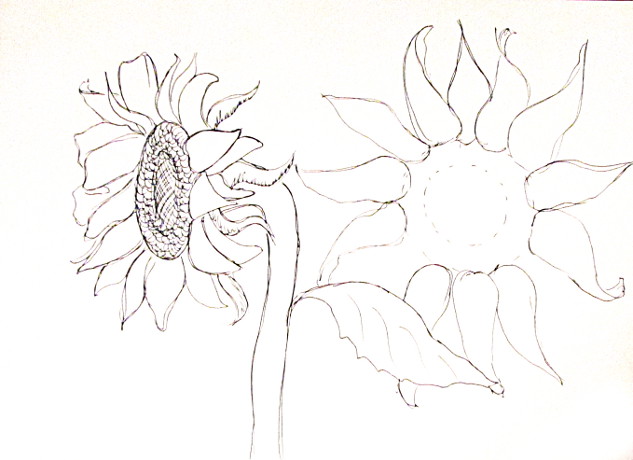
I decided that this sunflower will exist behind the first i, and so the petals are going backside the foliage of the first sunflower.
Finish the petals, and add a few more than in the back. Draw the stem and the leaves.
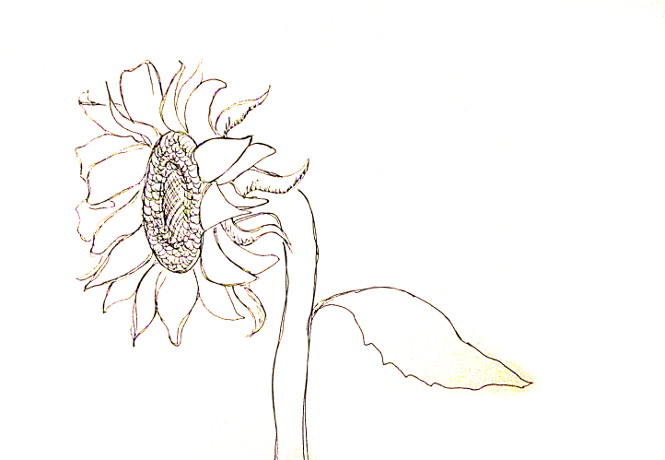
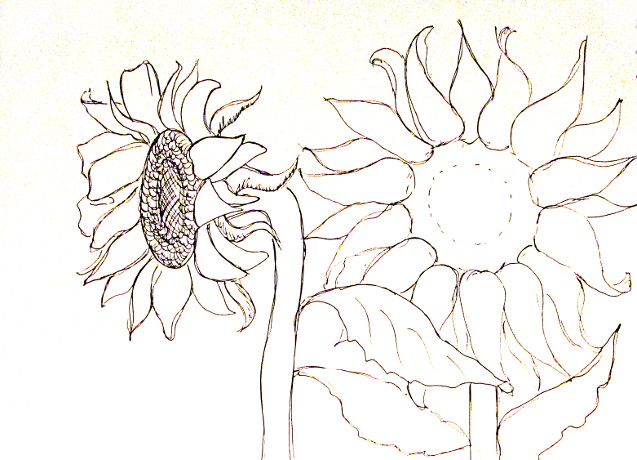
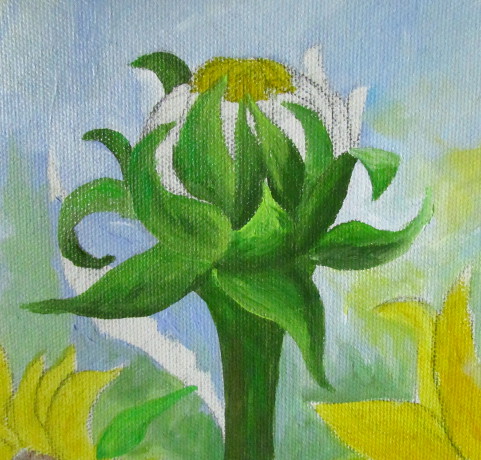
Next, draw a little oval. This is the tip of the little flower bud. Right where the leaves poke out a little bit.
Start working on the bud. Beginning draw a rounded bottom for it, then start adding a few leaves and petals around it.
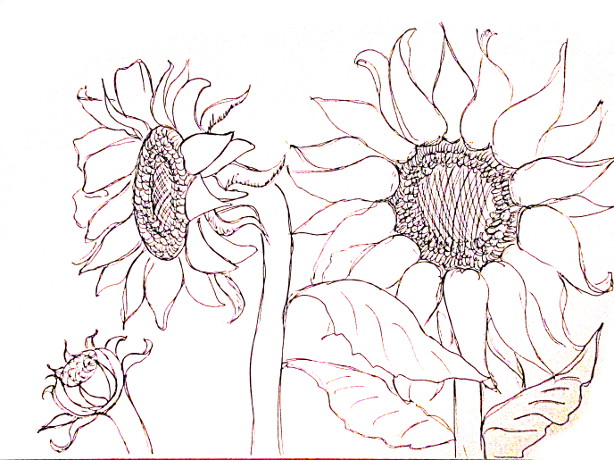
Give it a stem.

With a dotted line, mark where the next bud is going to be. This time I started with the leaves, so I drew a small leafage at the bottom.
And so I drew more leaves. Some crimper around the bud, and some coming off of information technology.
Finish the bud, and so draw a stem for it and some leaves.
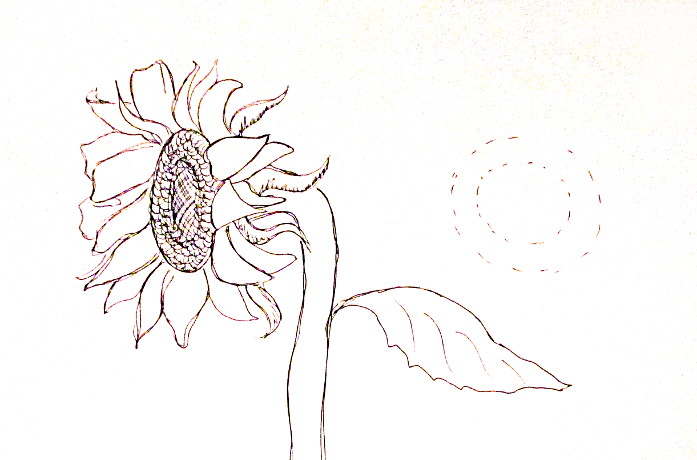
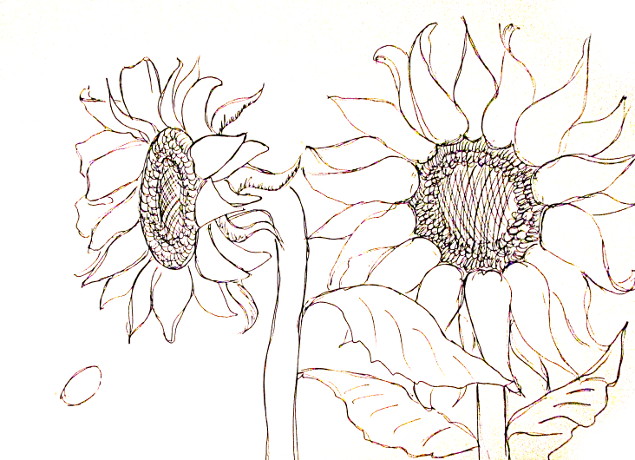
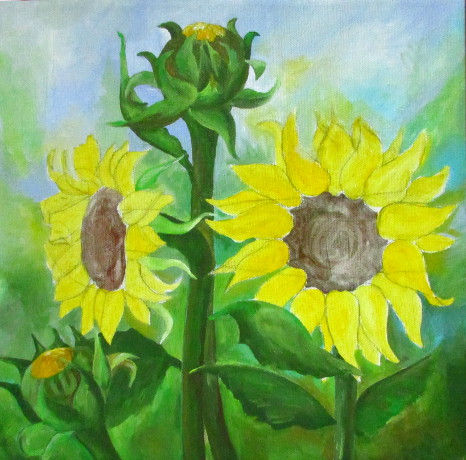
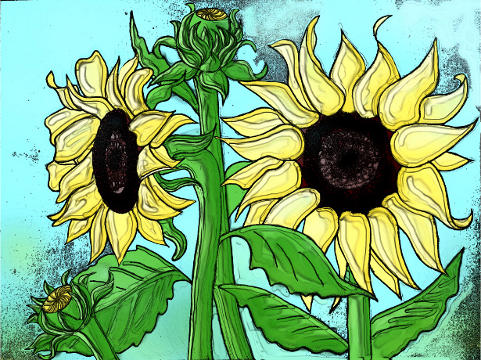
Now the sketch is consummate!
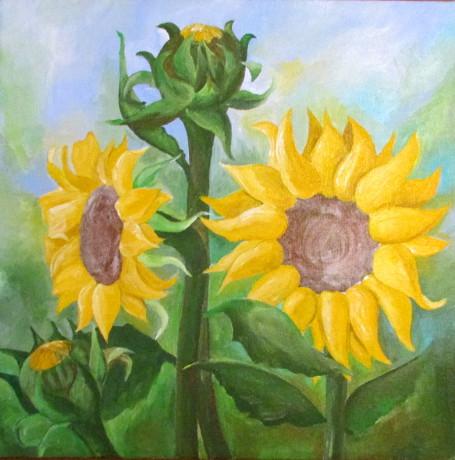
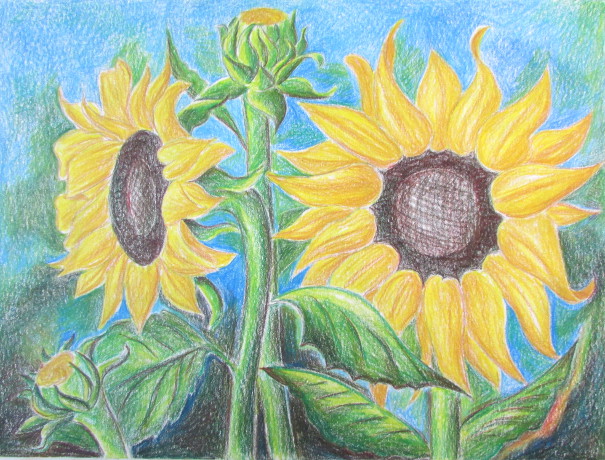
Pace By Stride Acrylic Painting
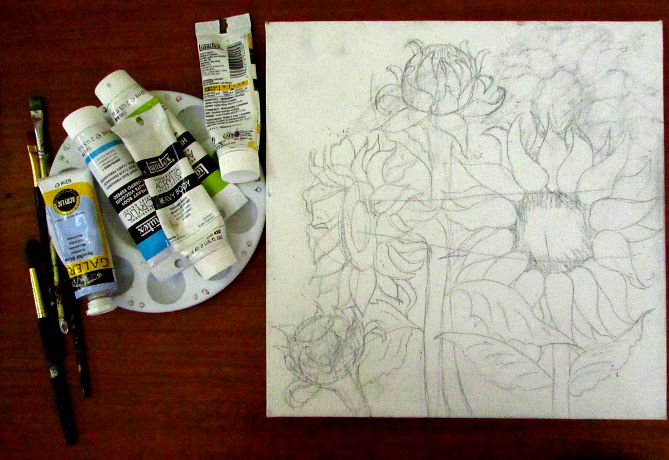
I started by transferring the sketch to the sail using transfer newspaper. Then I picked out the colors: blues, greens, white, and yellows.
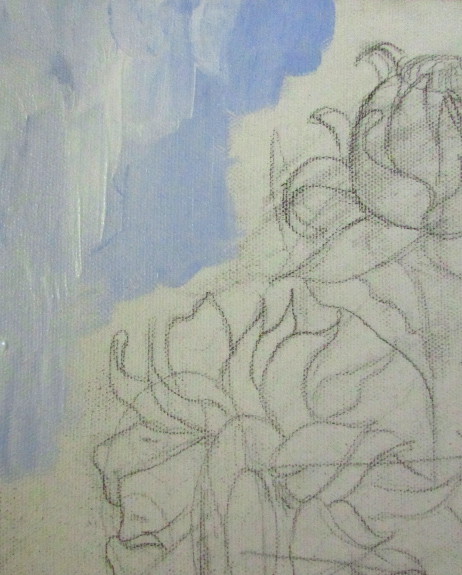
I started with the background. Using a wide flat brush, I mixed the paint right on the canvas every bit I was painting.
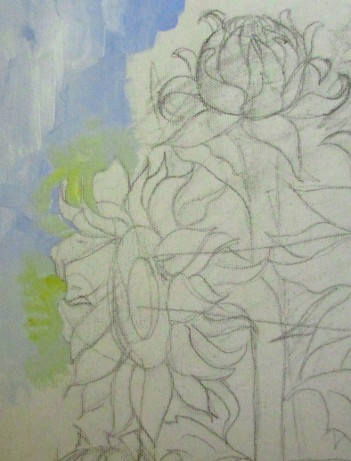
I get more carefully when I paint the background next to the flowers and leaves and such. I mixed in light green with the blue and white.
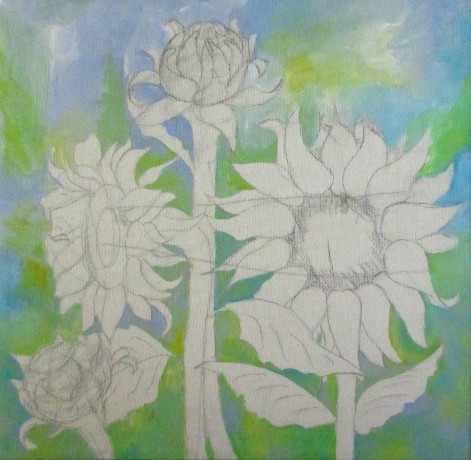
In the photo in a higher place, my background is done. This is the first layer, considering afterward I decided the background is much too light and added some dark greens and browns on the bottom. It would have been easier if I did it right away.
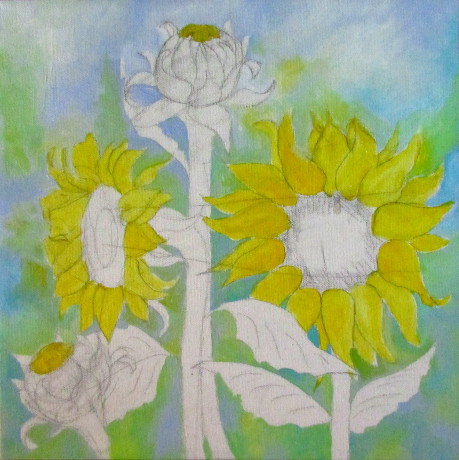
I used a watery yellow paint and filled in the petals. Same affair with brown paint and centers.
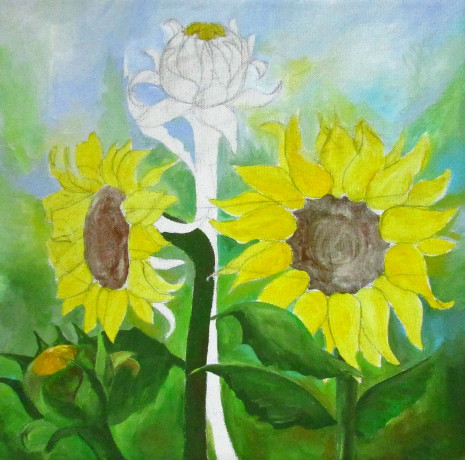
And so I darkened the groundwork, equally mentioned in a higher place, and did the leaves using a dark and a low-cal green.
For leaves and stems. I beginning by filling them with a darker green, similar in the photo above.
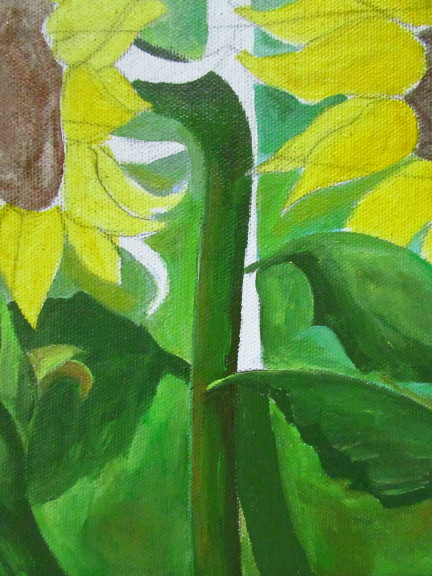
So use lighter green/brown/white to create highlights.
For each leafage, both the big leaves and the bud leaves, first I did each leaf in dark green, then added highlights with lighter colors.
Here is the full bud and stem, finished.
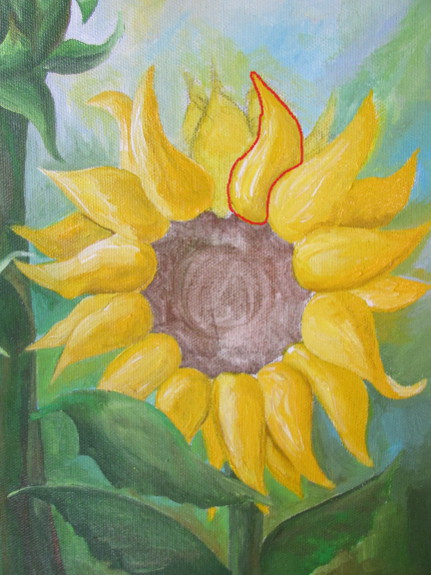
For the petals, it is the same thought as for the leaves. First fill in with yellow, and then add together highlights with a white, and shadows with a bit of reddish brown. You merely need a tiny bit of the darker color, as most of your petal should come through every bit yellow. Expect beneath for the step by pace instructions for the petals I circled with red.
Beginning, I filled it with apartment yellow.
Then I added a white highlight.
Followed by a light brownish shadow. Just go around doing this to every petal one at a fourth dimension.
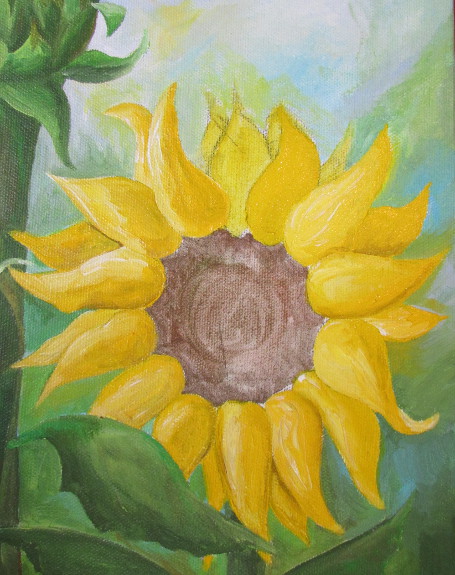
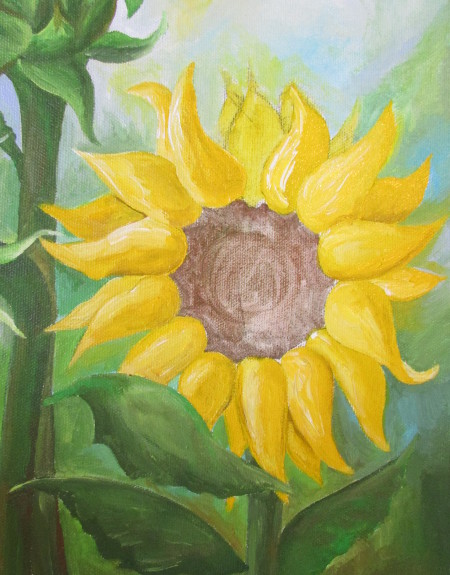
Now just finish the centers with some brownish/blackness/white paint and it is all done.
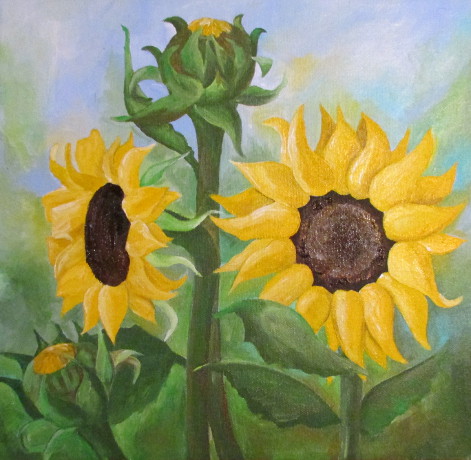
Hither is a pace by step for the Colored Pencil
I kickoff with black and brown under drawing, just shading the areas that will be darker afterward.
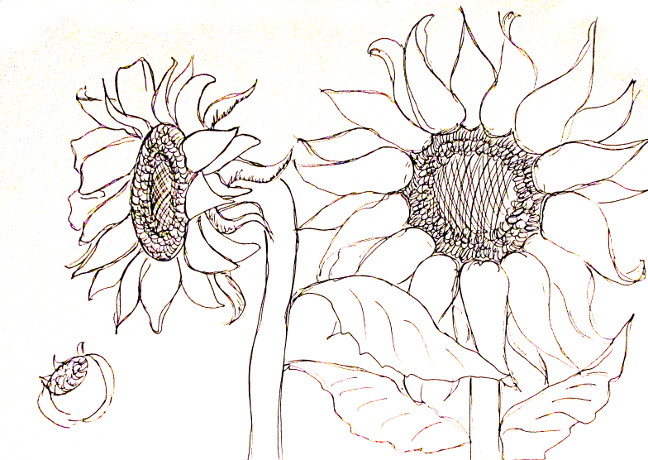
Using a darker blue, dark dark-green, and darkest yellow that I could find, I expanded the shadows further.
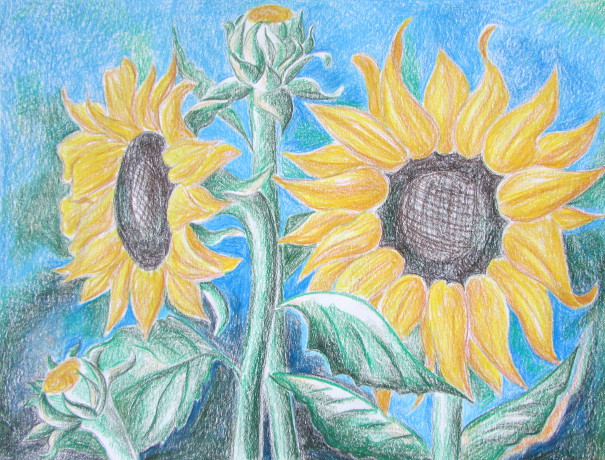
Using several other dejection, greens, yellows, and browns, I proceed adding on to the shadows that I originally drew. Filling more and more of the motion picture with color.
Moving to even lighter and brighter colors: greens, yellows, blues, and a cherry-red brown, I add even more than color to the cartoon.
At the finish I utilise white, pale yellow and a colorless blender pencil to blend all the colors together and make certain that no paper white is showing through. When the colors are darker, like the darkest areas on the bottom, I used dark green, indigo blue or black, pressing it hard, to create a layer of color over the paper. All done!
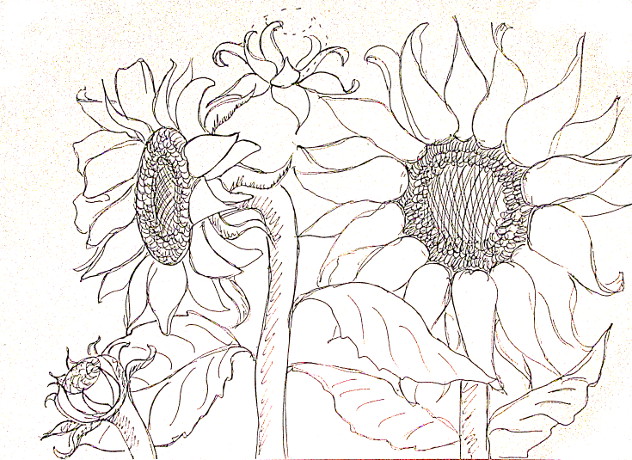
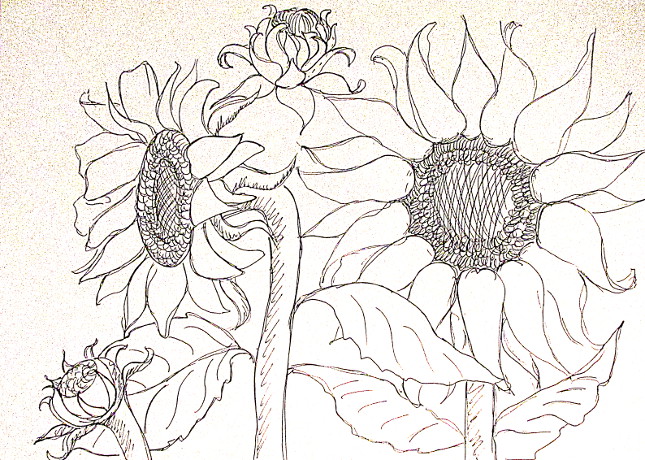
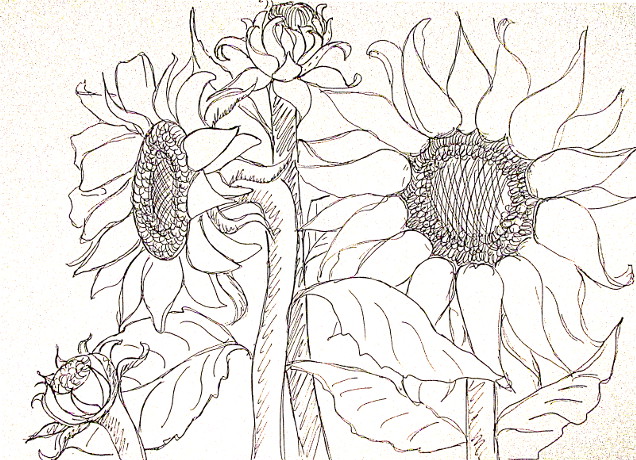
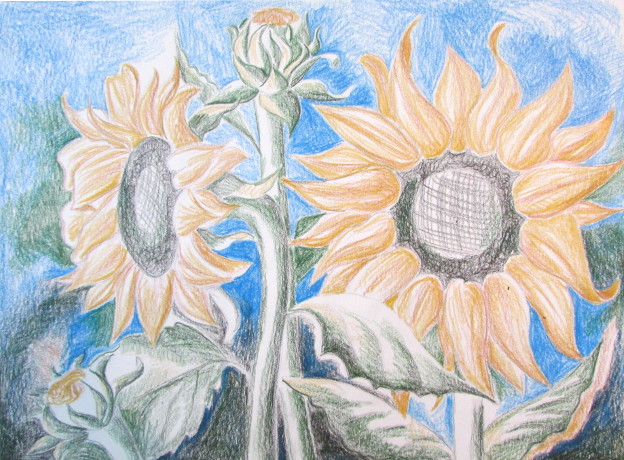
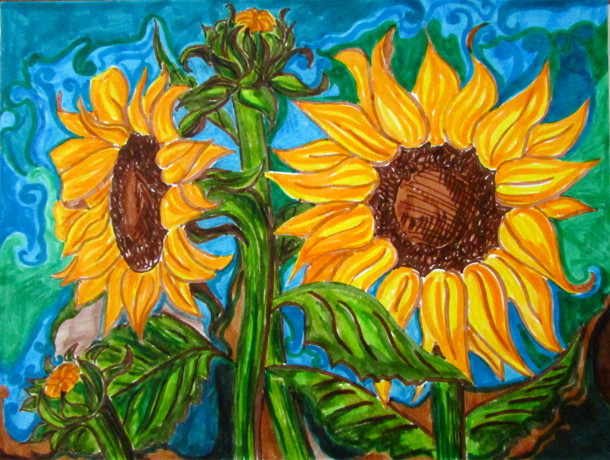
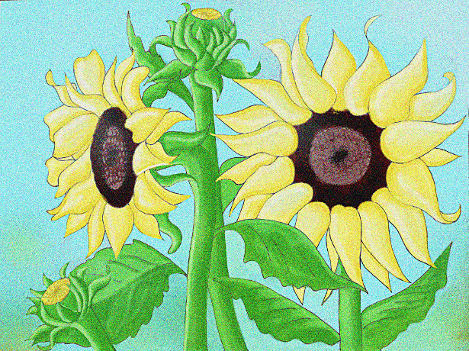
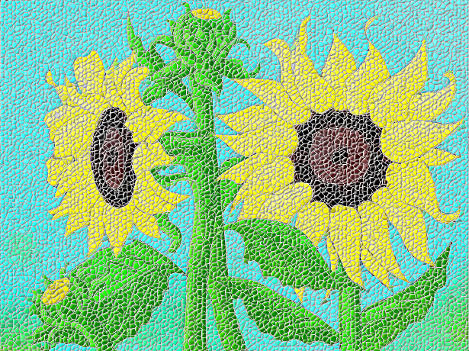
Here are all the different ways I colored information technology in. Go on in mind that each one is a split drawing/painting. I used carbon transfer paper to transfer it on over and over again!
Markers:
This is probably one of my favorites.
Ink:
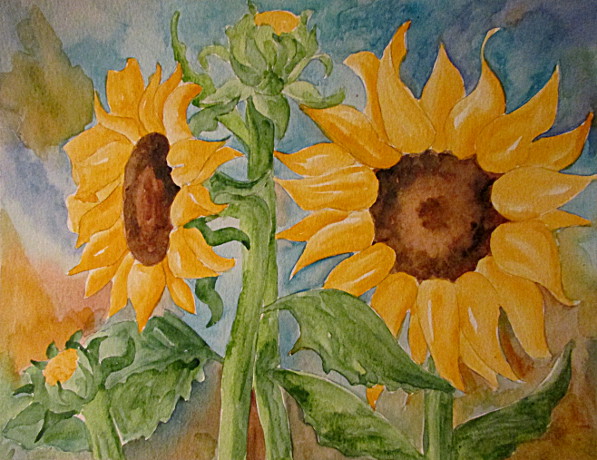
Watercolor:
I have to admit, I could exercise a ameliorate job with the watercolor one. I was just getting rather tired of cartoon and painting the same picture again and once more, so I rushed. Lesson learned: next time I volition take my time.
Ok, I have another confession, I rushed the next four equally well. I nonetheless call back that it does go the thought across. But how different the aforementioned drawing will look if y'all are using unlike mediums.
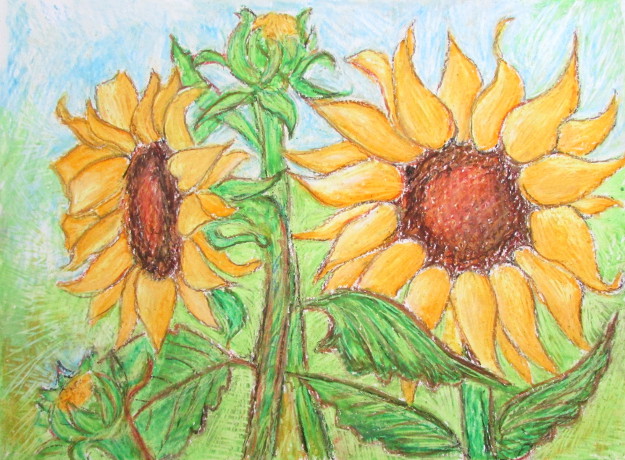
Oil Pastels
Crayons
Regular # ii Pencil
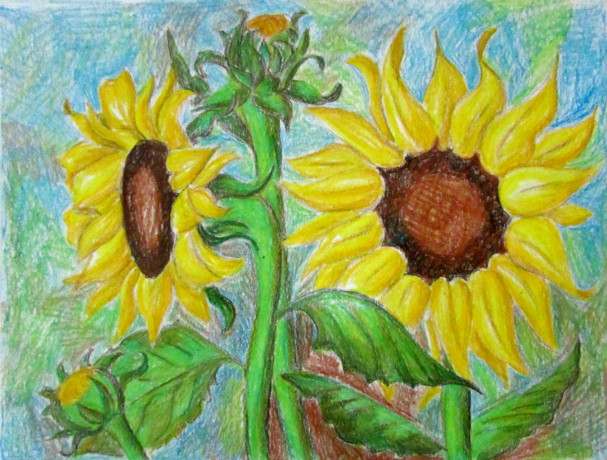
Pastels

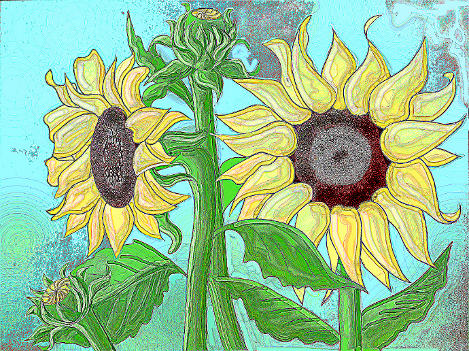
Estimator Generated Graphics
I accept learned a few more tricks since I did this project. One 24-hour interval I volition sit down and practise a improve job with these. I did enjoy making every unmarried one of these. Subsequently all is said and done, I exercise have one favorite amidst these. This i: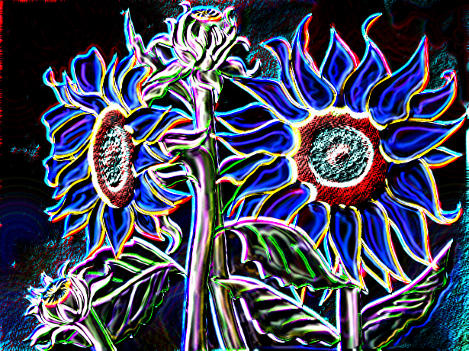
Here is i more. This one was done with leftover acrylic pigment and cotton swabs. I rather like it.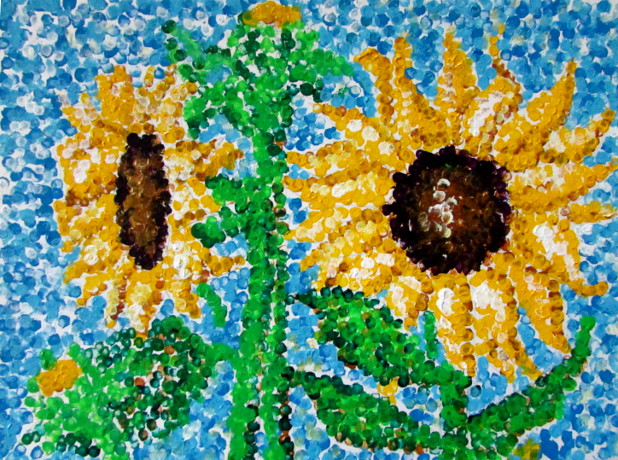

Source: https://www.happyfamilyart.com/art-lessons/learn-to-draw/how-to-draw-sunflowers/
Posted by: fuentessommor.blogspot.com
0 Response to "how to draw a realistic sunflower"
Post a Comment